QML-native Jobs Tutorial
Contents
What is a qml-native job
A qml-native job is a simple Qt Quick application (it usually is one .qml file) designed to test computer systems as any other plainbox job, difference being that it can have fully blown GUI and communicates with checkbox stack using predefined interface.
Software requirements
To develop and run qml-native jobs you need two things:
Ubuntu-SDK and Plainbox
Ubuntu-SDK installation
To install Ubuntu-SDK just run
# apt-get install ubuntu-sdk
Ubuntu-SDK, once opened, will ask you if you want to create any kit.
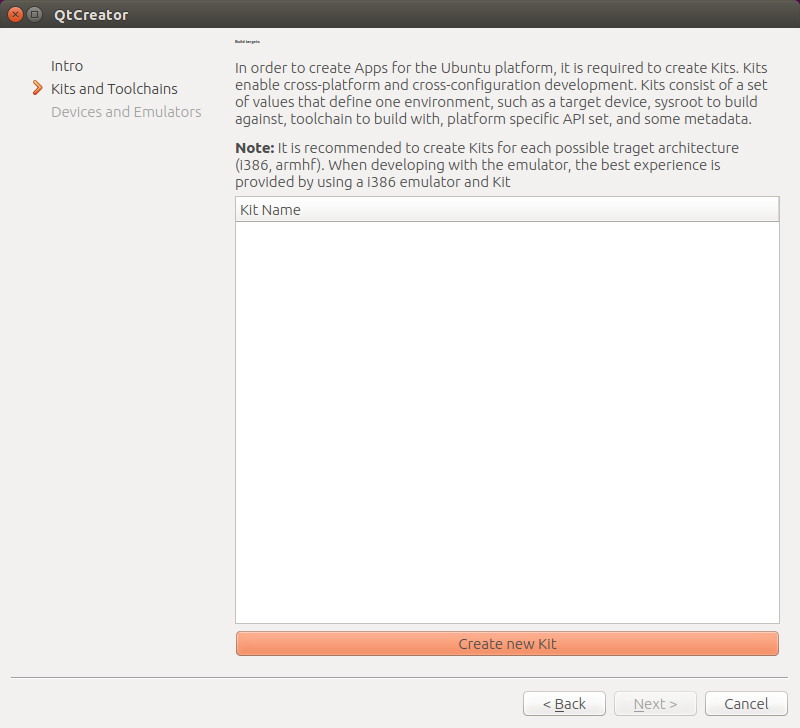
Go ahead and create one matching the architecture you’re running on. And grab a coffee, as this may take awhile. If prompted about emulator installation, skip the screen.
Plainbox installation
add checkbox-dev PPA:
# apt-add-repository ppa:checkbox-dev/ppa
retrieve the list of packages:
# apt-get update
install latest plainbox
# apt-get install plainbox
If you want to work on the greatest and latest of Plainbox, you might want to use trunk version. To do that follow these steps:
$ bzr checkout --lightweight lp:checkbox
$ cd checkbox
$ ./mk-venv venv
$ . venv/bin/activate
Now you should be able to launch plainbox-qml-shell command.
First qml-native job - Smoke test
Let’s build a very basic test that shows pass and fail buttons. All
qml-native jobs start as ordinary QtQuick Item{}, with testingShell
property and testDone signal. I.e.
import QtQuick 2.0
Item {
    property var testingShell;
     signal testDone(var test);
}
That’s the boilerplate code every qml-native job will have. Now let’s add two buttons.:
import QtQuick 2.0
import Ubuntu.Components 0.1
Item {
    property var testingShell;
    signal testDone(var test);
    Column {
        Button {
            text: "pass"
            onClicked: testDone({outcome: "pass"})
        }
        Button {
            text: "fail"
            onClicked: testDone({outcome: "fail"})
        }
    }
}
Save the above code as simple-job.qml. We will run it in a minute.
{outcome: "pass"} - this code creates an object with one property -
outcome that is set the value of "pass".
testDone({outcome: "pass"}) - triggers testDone signal sending newly
created object. This informs the governing infrastructure that the test is
done and the test passed.
How to run jobs
Now we’re ready to test newly developed qml job. Run:
$ plainbox-qml-shell simple-job.qml
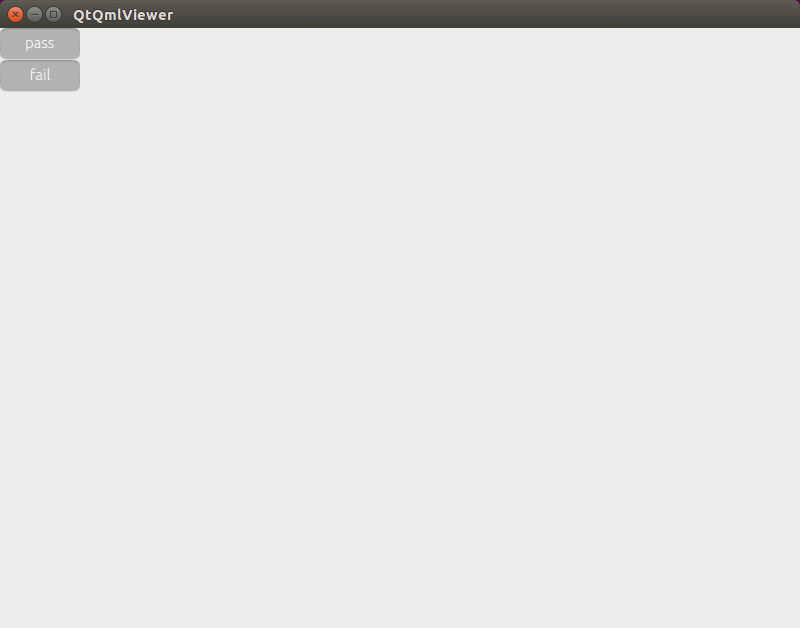
It’s not the prettiest qml code in the world, but it is a proper qml-native plainbox job!
Multi-page tests
Two common approaches when developing multi-page qml app are flat structure, or page navigation using page stack.
Flat page hierarchy
The simplest way is to create two Page components and switch their visibility properties. E.g.:
Item {
    id: root
    property var testingShell;
    Page {
        id: firstPage
        Button {
            onClicked: {
                firstPage.visible = false;
                secondPage.visible = true;
            }
        }
    }
    Page {
        id: secondPage
        visible: false
    }
}
Using page stack
testingShell defines pageStack property that you can use for multi-page
test with navigation. E.g.:
Item {
    id: root
    property var testingShell;
    Page {
        id: firstPage
        visible: false
        Button {
            onClicked: testingShell.pageStack.push(second)
        }
    }
    Page {
        id: secondPage
        visible: false
    }
    Component.onCompleted: testingShell.pageStack.push(first)
}
Migrating QtQuick app to a qml-native test
Start by creating ordinary “QML App with Simple UI”

The code generated by SDK should look like this:
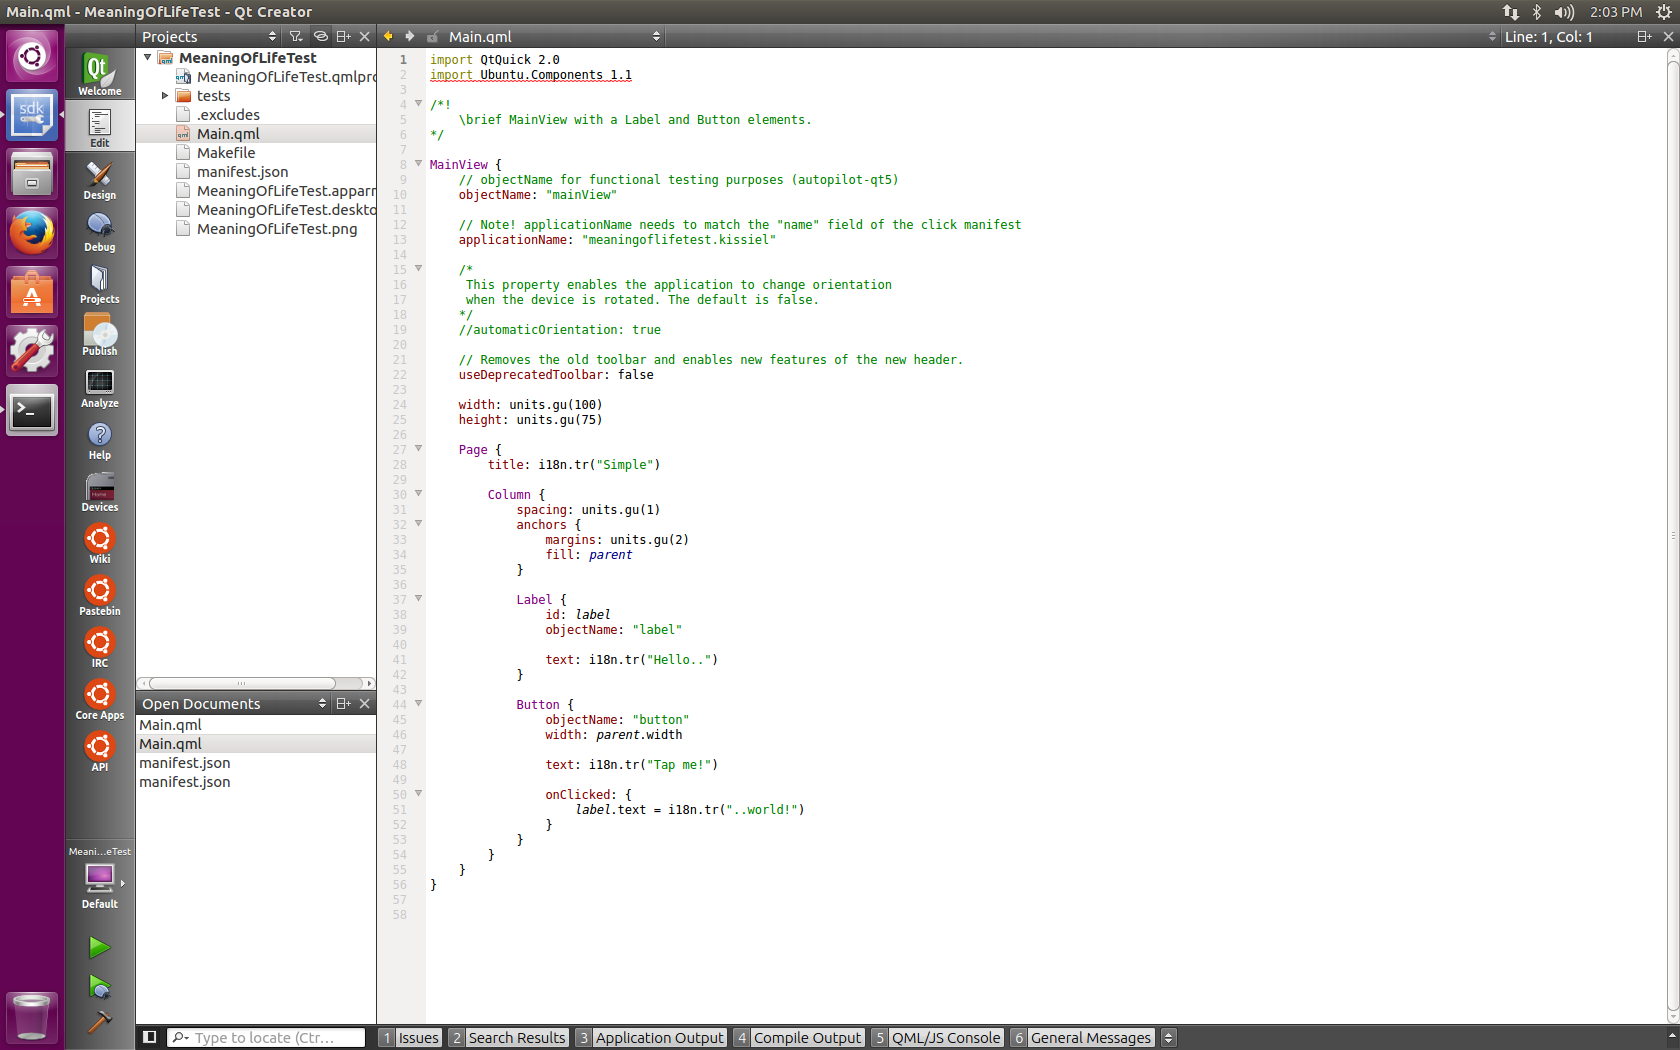
Now you can do a typical iterative process of developing an app that should have the look and feel of the test you would like to create.
Let’s say you’re satisfied with the following app:
import QtQuick 2.0
import Ubuntu.Components 1.1

MainView {
    useDeprecatedToolbar: false

    width: units.gu(100)
    height: units.gu(75)

    Page {
        Column {
            spacing: units.gu(1)
            anchors {
                margins: units.gu(2)
                fill: parent
            }

            Label {
                id: label
                text: i18n.tr("4 x 7 = ?")
            }

            TextField {
                id: input
            }

            Button {
                text: i18n.tr("Check")

                onClicked: {
                    if (input.text == 28) {
                        console.log("Correct!");
                    } else {
                        console.log("Error!");
                    }
                }
            }
        }
    }
}
Notice that the app has a MainView component and one Page component.
These are not needed in qml-native jobs, as the view is managed by the testing
shell. Also, the outcome of the app is a simple console.log() statement.
To convert this app to a proper qml-native job we need to do three things:
- remove the bits responsible for managing the view
- add
testingShellproperty and thetestDonesignal- call
testDoneonce we have a result
Final result:
import QtQuick 2.0
import Ubuntu.Components 1.1
Item {
    property var testingShell;
    signal testDone(var test);

    Column {
        spacing: units.gu(1)
        anchors {
            margins: units.gu(2)
            fill: parent
        }

        Label {
            id: label
            text: i18n.tr("4 x 7 = ?")
        }

        TextField {
            id: input
        }

        Button {
            text: i18n.tr("Check")
            onClicked: {
                if (input.text == 28) {
                    testDone({outcome: "pass"});
                } else {
                    testDone({outcome: "fail"});
                }
            }
        }
    }
}
Plainbox job definition for the test
The qml file we’ve created cannot be considered a plainbox job until it is defined as a unit in a plainbox provider.
Consider this definition:
id: quazi-captcha
category_id: Captcha
plugin: qml
_summary: Basic math captcha
_description:
 This test requires user to do simple multiplication
qml_file: simple.qml
estimated_duration: 5
Two bits that are different in qml jobs are plugin: qml and
qml_file: simple.qml
plugin field specifies the type of the plainbox job. The value of qml
informs checkbox applications that this should be run in QML environment
(testing shell) and qml_file field specifies which file serves as the entry
point to the job. The file must be located in the data directory of the
provider the job is defined in.
For other information regarding plainbox job units see:
http://plainbox.readthedocs.org/en/latest/manpages/plainbox-job-units.html
To add this job to the plainbox provider with other qml jobs, paste the job
defintion to:
checkbox/providers/2015.com.canonical.certification:qml-tests/units/qml-tests.pxu
Testing qml job in Checkbox Touch on Ubuntu device
With job definition in qml-tests provider, and the qml file copied to its data
directory we can build and install checkbox click package.
In checkbox/checkbox-touch run:
./get-libs
./build-me --provider ../providers/2015.com.canonical.certification\:qml-tests/ \
--install
Launch the “Checkbox” app on the device and your test should be live.
Confined Qml jobs
Sometimes there is a need to run a job with a different set of policies. Checkbox makes this possible by embedding such jobs into the resulting click package as seperate apps. Each of those apps have their own apparmor declaration, so each one have its own, seperate entry in the Trust database.
To request Checkbox to run a qml job as confined, add ‘confined’ flag to its definition.
E.g.:
id: confined-job
category_id: confinement-tests
plugin: qml
_summary: Job that runs as a seperate app
_description:
 Checkbox should run this job with a seperate set of policies.
qml_file: simple.qml
flags: confined
estimated_duration: 5
After the confined jobs are defined, run generate-confinement.py in the
root directory of the provider, naming all confined jobs that have been
declared.
E.g.:
cd my_provider
~/checkbox/checkbox-touch/confinement/generate-confinement.py confined-job
The tool will print all the hooks declaration you need to add to the
manifest.json file.
Now, your multi-app click is ready to be built.